Hey there! I’m Sushil, and I’ve spent years working in web development, guiding businesses and individuals to create high-performing websites. Whether you're a beginner or someone looking to polish their skills, this guide will walk you through steps of website development—from the basics to How to Create a Website and launching your site like a pro. I’ll also share personal insights and best practices from my years of experience. If you want urgent website development solutions, find our expert web developers which help to build and create your eye cache web development portfolio and services website!
10 Easy to Follow Steps of Website Development
By the end of this, you’ll not only know how to build a website but also why certain steps of website development matter and how to avoid common pitfalls. Let’s get started!

Step 1: Define Your Website’s development Purpose
Before jumping into web coding or web design, the first and most critical step is to understand why you need a website and How to Create a Website. Ask yourself:
✔️ Is it for a business, blog, portfolio, or e-commerce development?
✔️ Who is your target audience?
✔️ What do you want visitors to do (buy a product, read articles, contact you)?
Expert Tip:
Many beginners start without clarity, leading to unnecessary redesigns later. Take your time at this stage—it will save you tons of effort later.
Step 2: Choose the Right Website Platform to create your website
Now that you know your website’s purpose, it’s time to choose the right platform. Here are the top options:
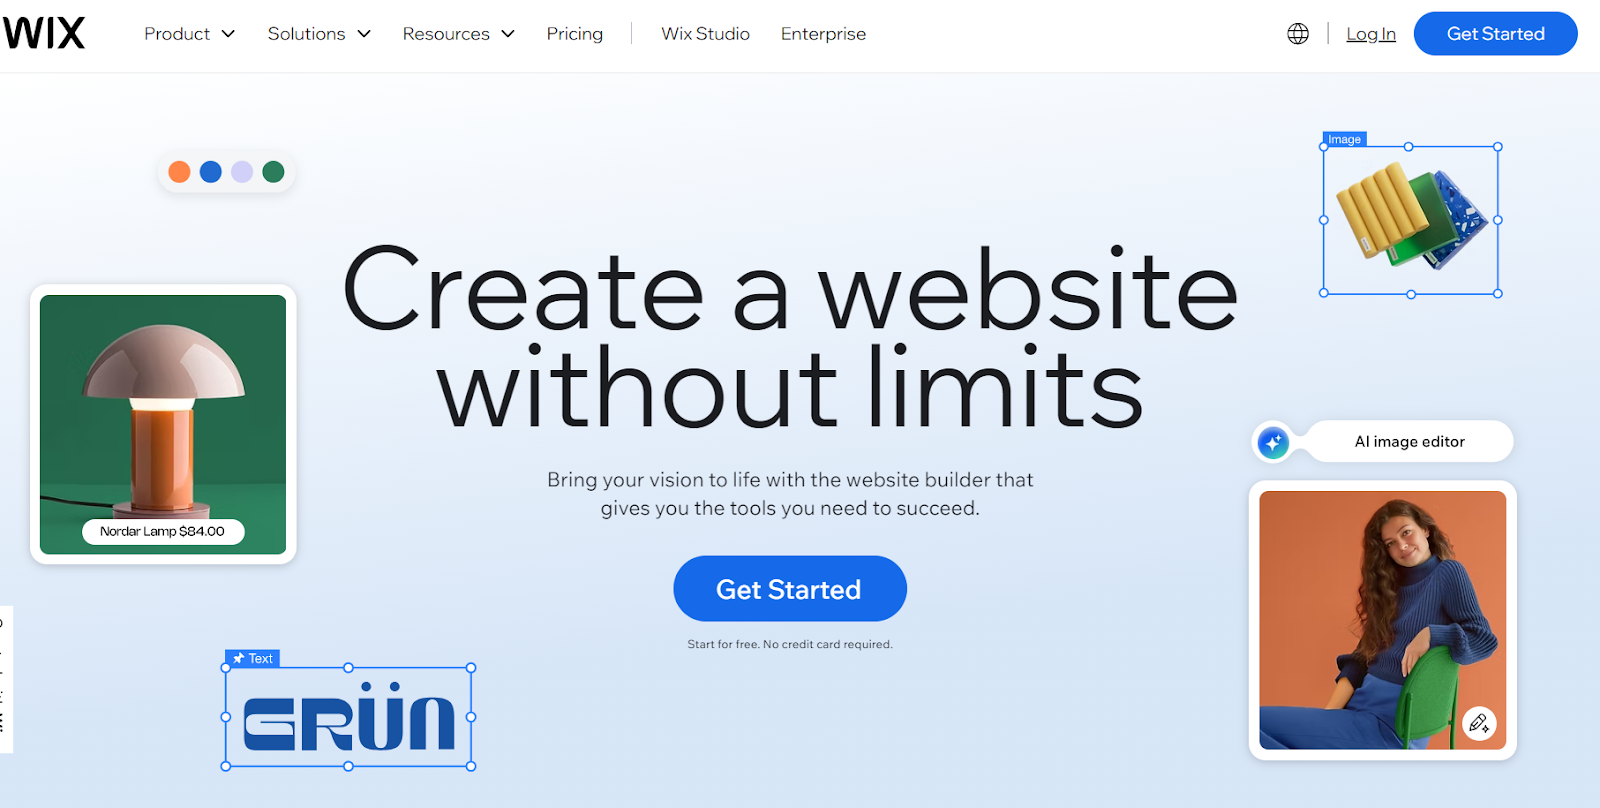
1. Wix Website Builders (For Beginners)
✔️ Wix Website Development– Great for small businesses and blogs
✔️ Squarespace – Sleek design, best for creatives
✔️ Shopify Development– Ideal for e-commerce stores
Who should use it?
👉 If you want a website fast without coding, go for these.
2. How to Create a Website a WordPress Website Development (Best for Flexibility)
✔️ 43% of the internet runs on WordPress!
✔️ Highly customizable with themes and plugins
✔️ Perfect for blogs, businesses, and e-commerce Website Development
Who should use it?
👉 If you want more control, WordPress is the way to go.
3. How to Create a Website a Custom Web Development (Best for Full Control)
✔️ Uses HTML, CSS, JavaScript, and frameworks like React, Angular to create your website
✔️ Fully customizable but requires coding knowledge to create a custom web development in 21st century
✔️ Ideal for large-scale projects
Expert Tip:
I always recommend WordPress for create a website as a beginner most people—it’s the perfect balance between ease and flexibility. But if you’re serious about customization, learning basic HTML & CSS is a game-changer!
Step 3: Pick a Domain Name & Hosting
Before you create and develop your website you need a website identity (Domain name) and Hosting to host your webiste. Your domain name is your website’s identity (e.g. www.yourwebsite.com, ). Make it short, memorable, and easy to spell!
✅ Where to Buy a Domain?
✔️ Namecheap
✔️ GoDaddy
✔️ Google Domains
✅ Best Hosting Providers
✔️ Bluehost – Affordable, great for beginners
✔️ SiteGround – Reliable & fast
✔️ Hostinger – Budget-friendly
Expert Tip:
Choose a .com domain if possible—it’s the most recognizable. And always go for SSL security (your site should start with https://, not http://).
Step 4: Design Your Website (UI/UX Basics)
A website isn’t just about looks—it’s about functionality too! Here’s how you can create a user-friendly and engaging website:
Key Design Principles
✔️ Keep It Simple – Don’t clutter the page with too much text or images.
✔️ Mobile-Friendly – 60%+ of web traffic comes from mobile.
✔️ Fast Loading Speed – People leave slow websites in seconds!
✔️ Easy Navigation – Use a clear menu (Home, About, Contact, etc.).
Expert Tip:
Use tools like Canva for graphics and Figma for UI design. Even if you’re using a template, tweak it to match your brand identity!
Step 5: Build Your Website (No-Code website vs. Coding website)
Now comes the fun part—building your site! Here’s your best approach:
Option 1: No-Code based Website Development
👉 Use WordPress, Wix, or Shopify and drag and drop elements.
Option 2: Build website with the help of coding language
For full control, you’ll need:
✔️ HTML – Basic structure
✔️ CSS – Styling and layouts
✔️ JavaScript – Interactive elements
Expert Tip:
Even if you’re using a website builder, learning basic HTML & CSS helps you customize things beyond the default settings!
Step 6: Add Essential Pages
Every professional website should have:
✅ Home Page – First impression matters!
✅ About Page – Tell your story, build trust.
✅ Services/Products Page – Explain what you offer.
✅ Contact Page – Make it easy for people to reach you.
Expert Tip:
If you’re selling products, add customer reviews for credibility. If you’re blogging, include categories and a search function.
Step 7: Optimize for SEO (Get Found on Google!)
A great website is useless if no one sees it. That’s where SEO (Search Engine Optimization) comes in!
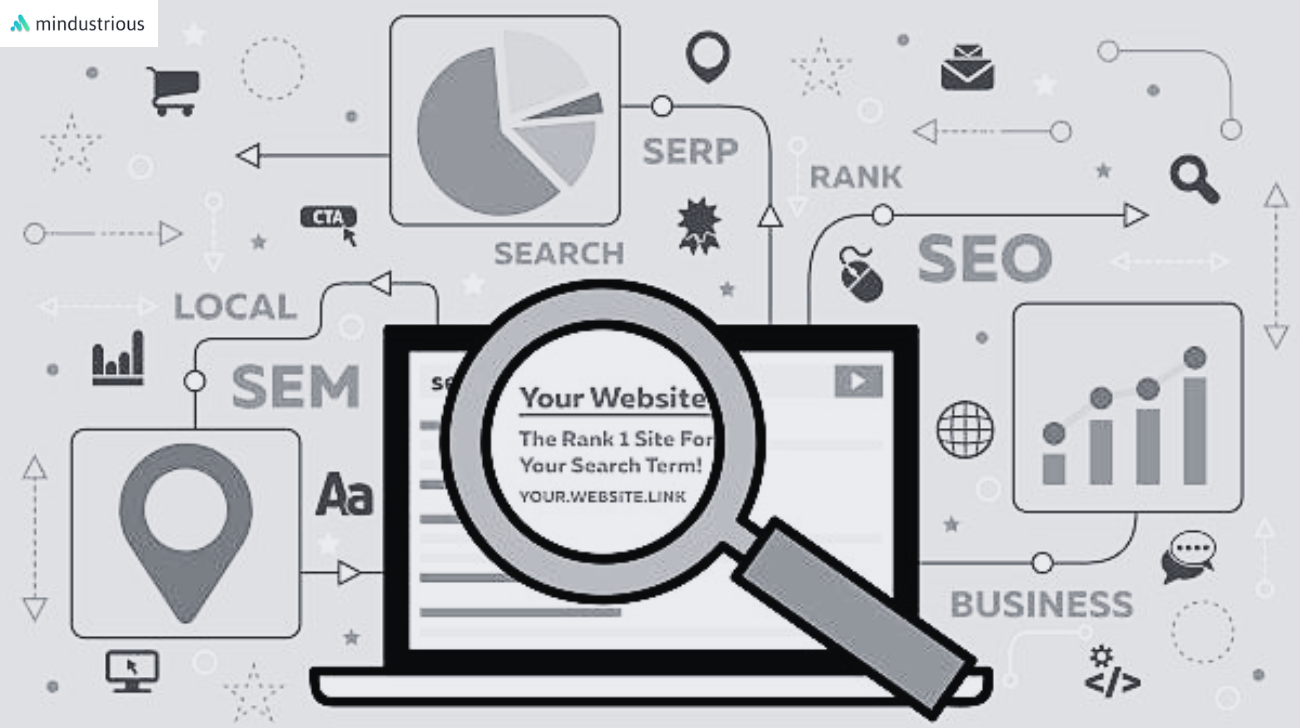
SEO Checklist:
✔️ Use Keywords – Research what people search for (Google’s Keyword Planner helps).
✔️ Optimize Images – Compress images for fast loading.
✔️ Write SEO-Friendly Content – Use headings (H1, H2, H3), bullet points, and relevant keywords.
✔️ Get Backlinks – When other sites link to yours, it improves ranking.
✔️ Improve Page Speed – Use tools like GTmetrix or Google PageSpeed Insights.
Expert Tip:
Content is king in SEO! I always suggest writing a blog section—even a simple FAQ page helps boost rankings!
Step 8: Make It Secure & Mobile-Friendly
Security is non-negotiable. Here’s how to keep your website safe:
✅ Use SSL Certificates – Protects user data.
✅ Update Software & Plugins – Avoid security breaches.
✅ Backup Your Website – Use plugins like UpdraftPlus for WordPress.
Also, ensure your website is responsive (works well on mobile). Google ranks mobile-friendly websites higher!
Step 9: Test & Launch Your Website!
Before launching, check:
✔️ Links work correctly
✔️ Mobile version looks good
✔️ Pages load fast
Expert Tip:
Use tools like Google Lighthouse to check site performance. And don’t forget to ask friends for feedback before going live!
Step 10: Maintain & Improve Your Website
A website isn’t a “set and forget” thing—you need to keep it updated!
Ongoing Maintenance Checklist:
🔹 Post fresh content – Blogs, news, updates
🔹 Update plugins and software
🔹 Fix broken links
🔹 Monitor analytics – Use Google Analytics to see what works!
Expert Tip:
Your website should grow with you. Keep improving, adding features, and tracking visitor behavior.
How To Add Interactive Features with JavaScript?
A static website is great, but an interactive website keeps visitors engaged! JavaScript helps you add cool features like animations, pop-ups, and dynamic forms.
1. Adding a Simple Click Event (Button Interaction)
Let’s start with a basic example where a button shows a message when clicked.
HTML:
<button id="myButton">Click Me</button> <p id="message"></p> |
JavaScript:
document.getElementById("myButton").addEventListener("click", function() { document.getElementById("message").innerText = "Hello! You clicked the button!"; }); |
What This Does:
When the button is clicked, the text "Hello! You clicked the button!" appears inside the <p> tag.
2. Creating a Dark Mode Toggle (User Preference Feature)
Dark mode is super popular these days. Here’s how you can add a dark mode toggle to your website.
HTML:
| <button id="toggleDarkMode">Toggle Dark Mode</button> |
CSS:
body.dark-mode { background-color: #121212; color: white; } |
JavaScript:
document.getElementById("toggleDarkMode").addEventListener("click", function() { document.body.classList.toggle("dark-mode"); }); |
What This Does:
Clicking the button toggles dark mode by adding or removing the .dark-mode class from the <body>.
3. Form Validation (Preventing Empty Submissions)
Forms are essential for contact pages and sign-ups, but users often submit them empty. Let’s add basic validation.
HTML:
<form id="contactForm"> <input type="text" id="name" placeholder="Enter your name"> <button type="submit">Submit</button> <p id="error" style="color: red;"></p> </form> |
JavaScript:
document.getElementById("contactForm").addEventListener("submit", function(event) { let nameInput = document.getElementById("name").value; if (nameInput.trim() === "") { event.preventDefault(); // Prevent form submission document.getElementById("error").innerText = "Name field cannot be empty!"; } }); |
What This Does:
If the user tries to submit without entering a name, an error message appears and the form won't submit.
Final Thoughts
Website development isn’t just about launching a site—it’s about making something valuable for your audience. And trust me, once you get the hang of it, it becomes easier and more rewarding.
I’ve built countless websites, and I still get excited every time. The key is to keep learning, testing, and optimizing.
I hope these steps of website development guide makes your journey smoother! If you have any questions, drop them in the comments—I’d love to help!